It was gymnastics and my pet rabbits when I was little, painting and depressing music in my teens, jewelry making and fashion in my twenties and so far in my thirties, it's been growing veg and sewing. Along the way, cooking has been the one constant thing that I never got bored with but even so, there have been several ingredients, techniques and ethnicities that I become enamoured with for a period of time until I move on to the next. I spent much of my teens trying to perfect a simple Bolognese sauce, used chipotle in far too many things in my twenties, and so far in my thirties, have gone nuts with stock making, bread baking, cakes, pies and pastries, as well as slow roasts, Mexican and custard dishes.
 At the moment, my fascination is with sous vide, and I know I'm not alone. All over the food blogiverse, there are tales of home attempts, successes and failures and of course, it's something I have just had to try for myself. Last week I tried doing some chicken breasts this way and was really happy with the results, even though I was overly cautious with the temperature and length of cooking. At Waitrose this week, they had pork fillet (tenderloin) on sale, and so I thought I'd try again, but this time at a much lower temperature and for a shorter time. The result was a beautifully tender and juicy piece of pork which required barely any effort to cut. It took only a little more time to cook than conventional cooking and so is how I will definitely cook this cut from now on.
I've served the pork with haricot beans which I dressed in a ginger, tomato and chilli vinaigrette I learned to make at Le Manoir aux Quat Saisons during my class on Monday. The dish we made was with squid and chick peas (garbanzo beans) and I loved this dressing so much I had to use it here.
 Sous Vide Pork Tenderloin with Haricot Beans
Serves 2, takes 7 hours, including brining. 1 hour actual work.
1 decent-size free-range pork tenderloin, about 600g (1+lbs)
For the brine:
200ml (7 oz) boiling water
800ml (27 oz) cold water
4 tbsp sea salt
1 tbsp caster sugar
1 sprig sage, leaves picked
1 sprig thyme
1 small sprig rosemary, leaves picked
3 cloves garlic, peels on, halved
10 peppercorns
the zest of one lemon, sliced
a large handful of ice cubes
2 bay leaves
For the beans:
150g dried organic haricot beans, soaked overnight and simmered for 2 hours in plain water
3cm piece fresh ginger rot, peeled and coarsely chopped
3 ripe Roma tomatoes (or other nice, ripe tomatoes) chopped
1 large red chilli, de-seeded and sliced
2 tbsp white wine vinegar
2 tbsp water
100ml extra virgin olive oil
salt and pepper
juice of 1/2 a lemon*
To serve:
Washed baby spinach and rocket (arugula) leaves
French breakfast radishes, halved
 Make the brine first, by crushing the salt, sugar , garlic, lemon zest, herbs and peppercorns together in a pestle and mortar until the herbs are well bruised and the salt is going green.
Put the salt and herb mixture into a small bowl, boil about 200ml (7 oz) of the water and pour it over the salt mixture, stirring until the salt and sugar have dissolved. Pour the cold water in and add the ice cubes. Put the pork into the bowl and make sure that it is completely submerged in the brine. Refrigerate for 6 hours or overnight.
Remove the pork from the brine and pat dry. Lay two overlapping pieces of cling film onthe counter top and lay the pork, just below the halfway point, parallel with the counter then wrap the film over the pork, away from you. Roll the pork away from you, wrapping as tightly as
 possible in the cling film,twisting a little if necessary to ensure that there are no gaps or air pockets. Using a ruler to help tuck while you roll might be useful.
You should have a few inches of cling film hanging over the ends of the pork. Pinch and twist the loose ends and tie into a tight knot as close to the meat as you can.
Fill your largest pot (I use my big stock pot) with hot tap water, which should be fairly close to 60C (140F), which is the temperature at which you want to cook the pork. Pop the pan onto (or half-way onto) your smallest burner, on the lowest setting (A heat diffuser might be useful here) to achieve or maintain the ideal temperature. Use a probe thermometer to check the temperature and drop the pork in, it should drop to the bottom of the pan. After you drop the pork in, the temperature of the water will begin to drop slightly, so you'll need to give it a little more heat to bring it back up. Cook the pork for 35-40 minutes, checking the temperature regularly to maintain the ideal temperature, moving the pan slightly off the heat if the temp starts to climb above 60c (140F)
When you check the internal temperature of the pork by inserting the thermometer into the thickest part of the meat, it should read 60C (140F). If not quite up to temp, put the meat into a zip-top bag, squeeze as much air out as you can and give it a few more minutes. When the meat is done, remove it from the heat, unwrap it and pat it dry.
While the pork is cooking, start the dressing for the beans. In a small frying pan, heat 2 tbsp of olive oil and sear toss in the ginger, chilli and tomatoes, leaving them undisturbed for a few minutes so that they can caramelize well. When the veggies are beginning to soften, add the white wine vinegar and water, cooking for a minute or so to reduce the liquid a little.
Tip the hot vegetables into a blender and blitz into a fine puree, then add the salt and pepper and the lemon juice. With the blender running, drizzle the 100ml of olive oil in in a thin stream to combine into a loose, cohesive dressing, much like a vinaigrette.
Tip the dressing back into the pan you cooked the veggies in and add the pre-cooked beans, warming slowly on a low heat while you sear the pork.
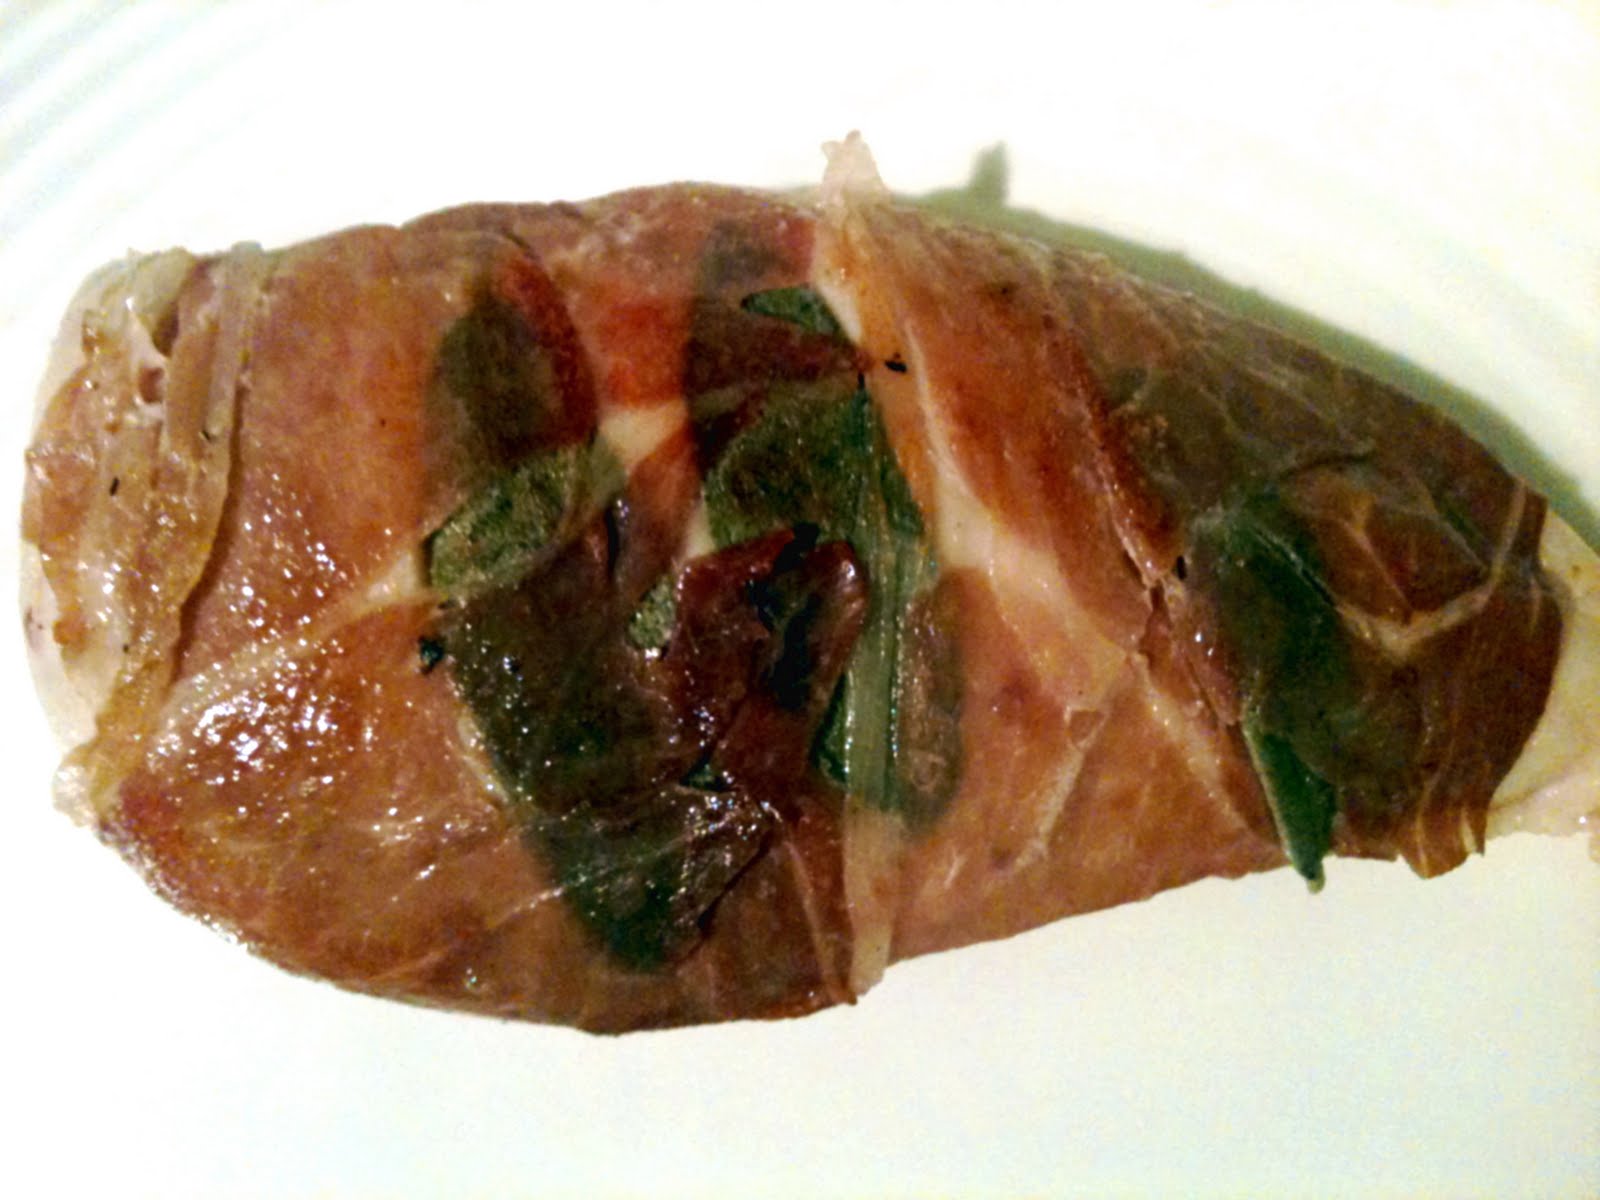
In a skillet, warm 1 tbsp of olive oil over a med-high heat until shimmery-hot. Carefully place the pork in the hot oil and don't touch it for about 30 seconds, allowing it to go a little golden on the bottom before giving it a third-turn, brown and turn one more time. You don't want to leave the pork in the pan for longer than you have to because you'll undo the past 45 minutes' work. Deglaze the pan with the remaining juice of half a lemon and a little water.
To serve, arrange the rocket and spinach leaves on a plate and spoon the warm beans on top. Slice the pork into approx 1cm (1/2") thick slices and lay on top of the beans then drizzle with the pan juices.
Look at the difference between the pork tenderloin cooked this way and the conventionally cooked one in the link below: